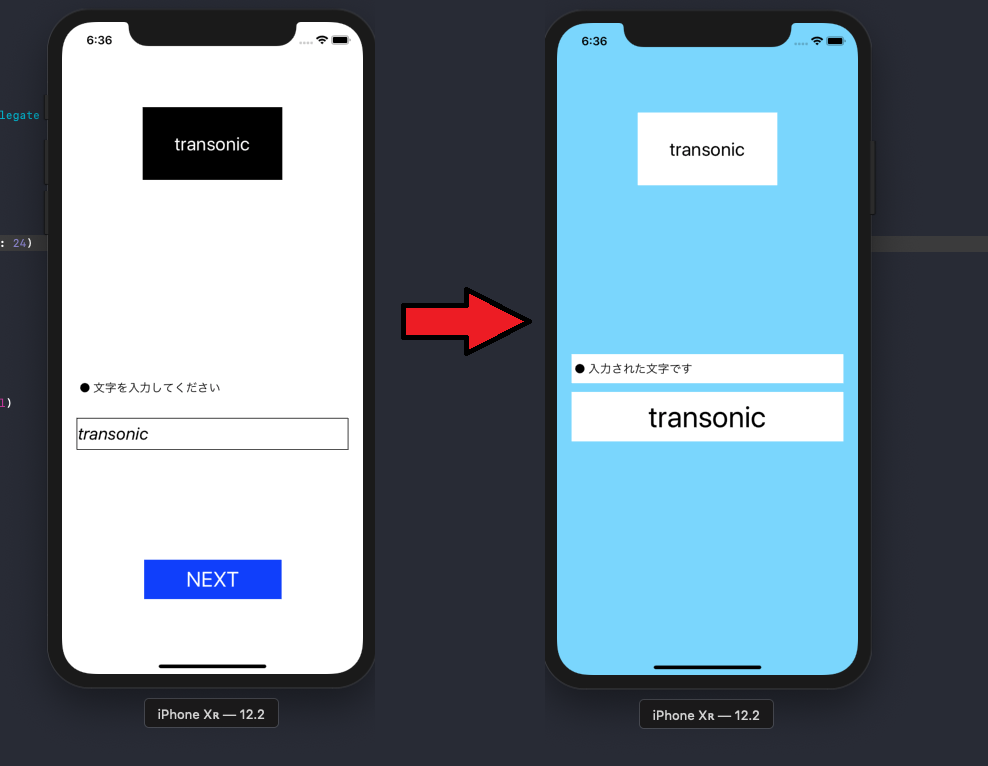
2019.04.16
NavigationControllerでViewControllerの画面の遷移をしつつ値を渡す方法を説明します。
環境 [xcode 10.2:swift 5.0]
AppDelegateで使用したい変数の宣言とNavigationControllerの設定をしていきます。
1 2 3 4 5 6 7 8 9 10 11 | class AppDelegate: UIResponder, UIApplicationDelegate { var window: UIWindow? var nameValue : String? = "" let vc = ViewController() func application(_ application: UIApplication, didFinishLaunchingWithOptions launchOptions: [UIApplication.LaunchOptionsKey: Any]?) -> Bool { let navigationController = UINavigationController(rootViewController: vc) window = UIWindow(frame: UIScreen.main.bounds) self.window?.rootViewController = navigationController self.window?.makeKeyAndVisible() navigationController.setNavigationBarHidden(true, animated: true) return true |
そして、ViewControllerにAppDelegateに用意した変数の参照と画面の遷移を実装していきます。 AppDelegateからの参照は下記の記述によって簡単にできるようになります。変数を使用したいViewContorollerにそれぞれ記述してください。
1 2 3 | var delegate: AppDelegate { return UIApplication.shared.delegate as! AppDelegate } |
変数を使用するときは、
1 | delegate.nameValue |
とすることでAppDelegateで宣言した変数が使えるようになります。
NavigationControllerでの画面の遷移は、下記のコードで出来るようになります。
1 2 | let second = Second_ViewController() navigationController?.pushViewController(second, animated: true) |
以上でNavigationControllerでの画面の遷移と値渡しが出来るようになりました。
